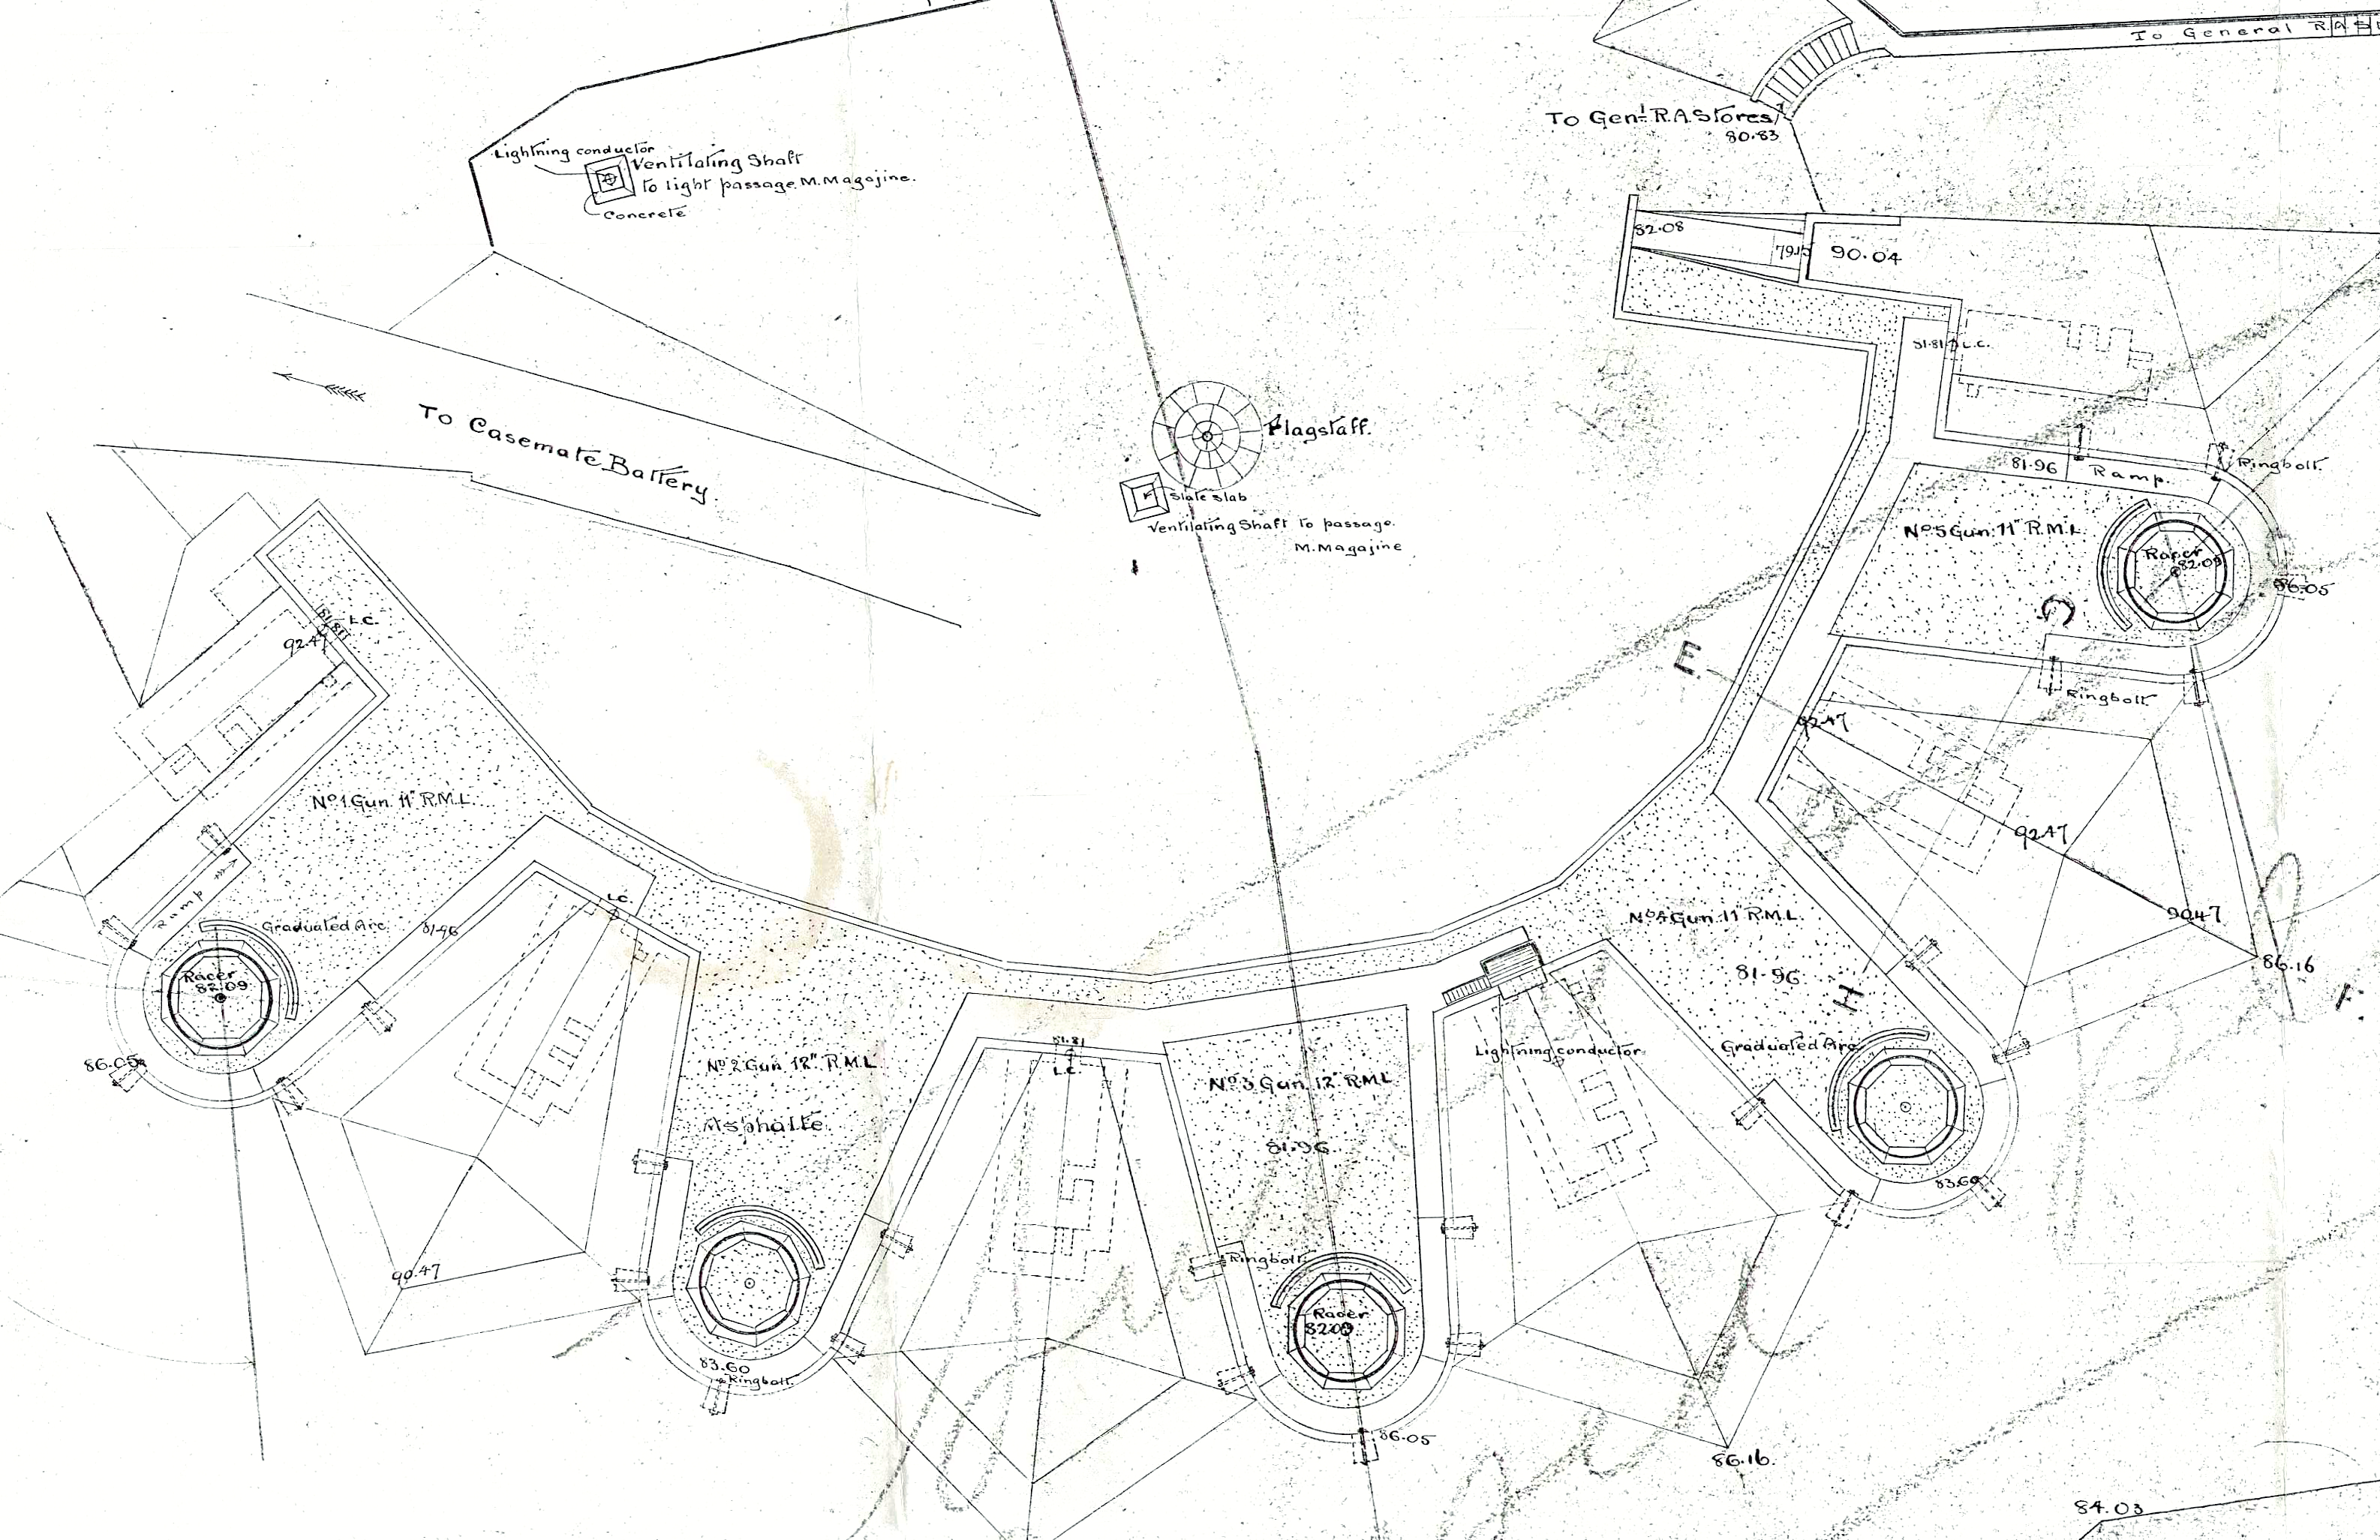
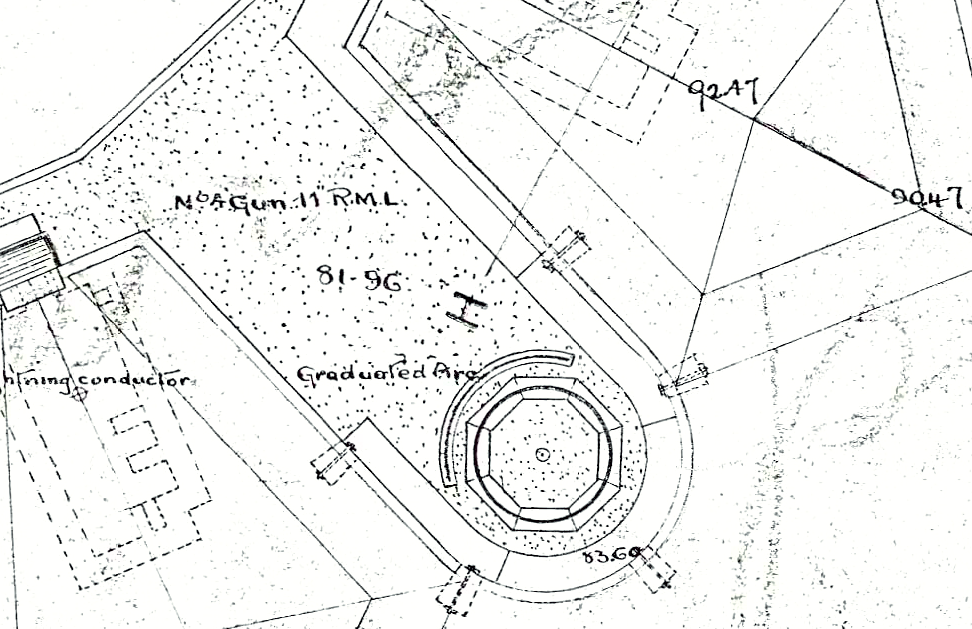
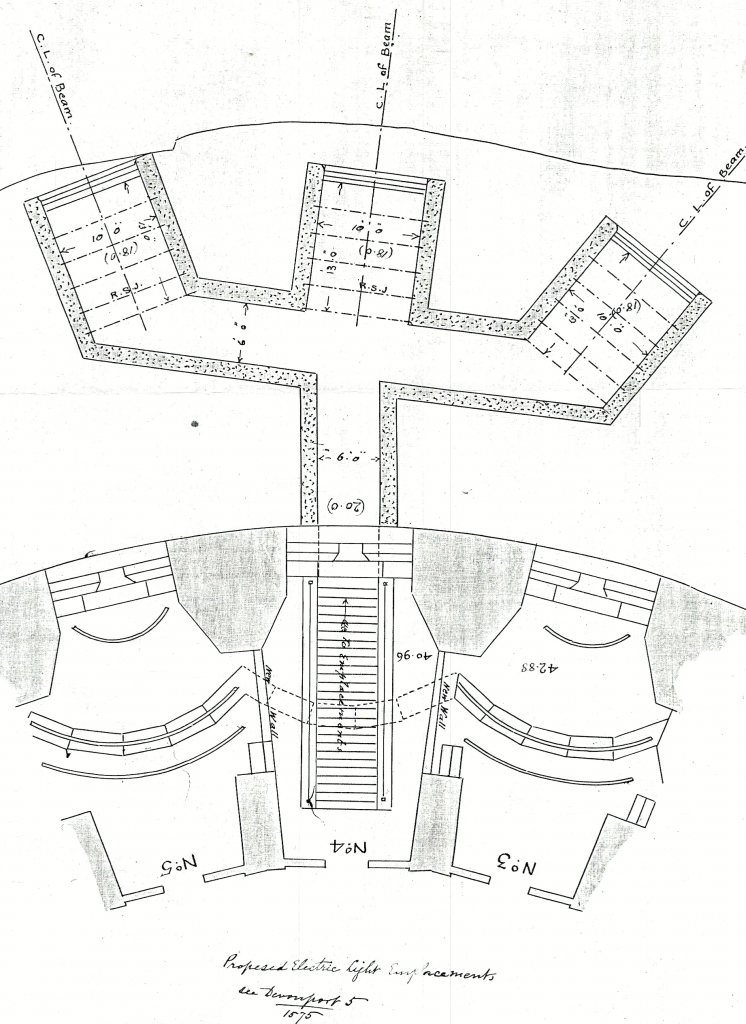
The next set of surveys done by the Royal Engineers was in 1895 overseen by Lt Col Francis Mascall who was the Commander Royal Engineers (CRE) Plymouth Sub District. It was measured and drawn by Company Sergeant Major Fred Beale who was a draughtsman by trade. Whilst I can’t find an explicit reason for the survey by this time it was clear the Rifle Muzzle Loaded Guns on the Island both in the Casemates and at the Upper Battery were obsolete and would be replaced by new breech loading guns in the near future. The Survey would establish the current situation of the defences so the new gun emplacements and associated magazines could be planned. Cost as always was critical to what could be done so the designers would want to incorporate as much of the existing features as possible to keep the costs down. The other major technological advancement was searchlights which would provide another reason to survey the Island to site the searchlights where they would be best deployed to sight enemy raiders, small destroyers or torpedo boats, in the Sound. Within 6 years of the survey including the new Batteries were constructed which did incorporate some existing features plus new searchlight housings. These new defences did incorporate some existing features. The new breech loading guns and searchlights started arriving on the Island by 1899.
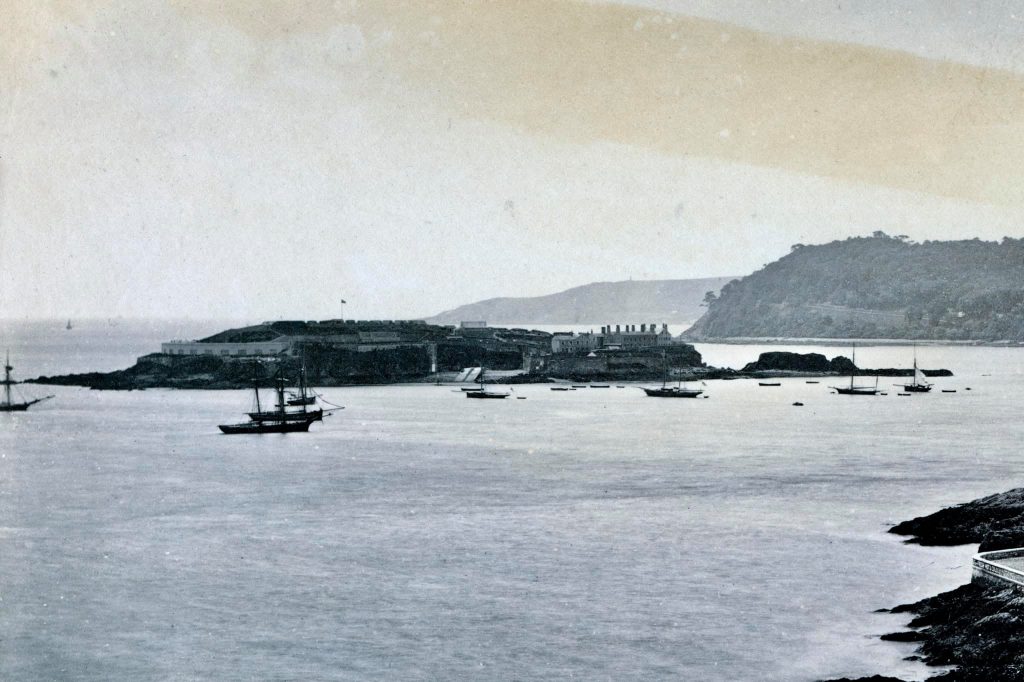
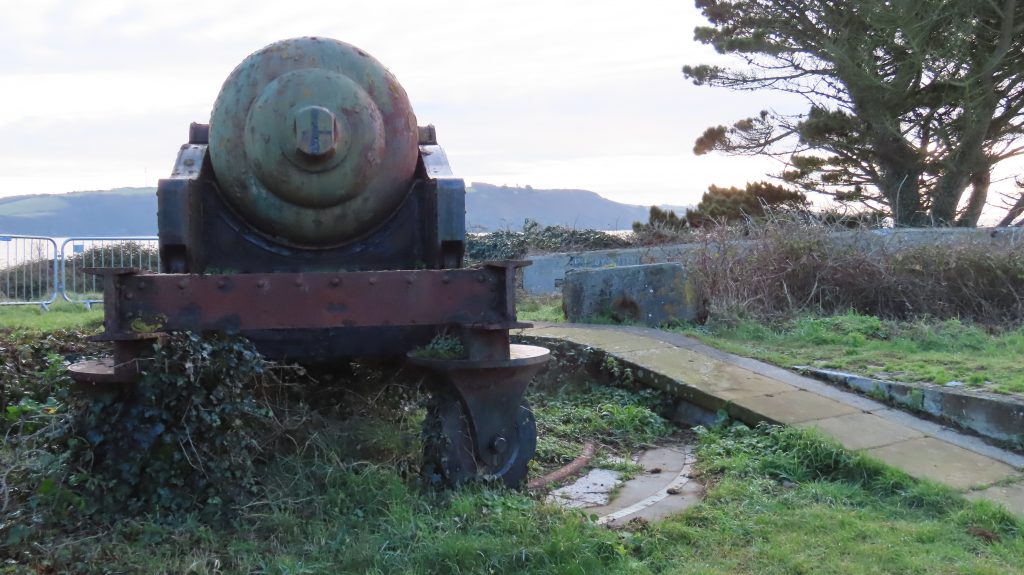
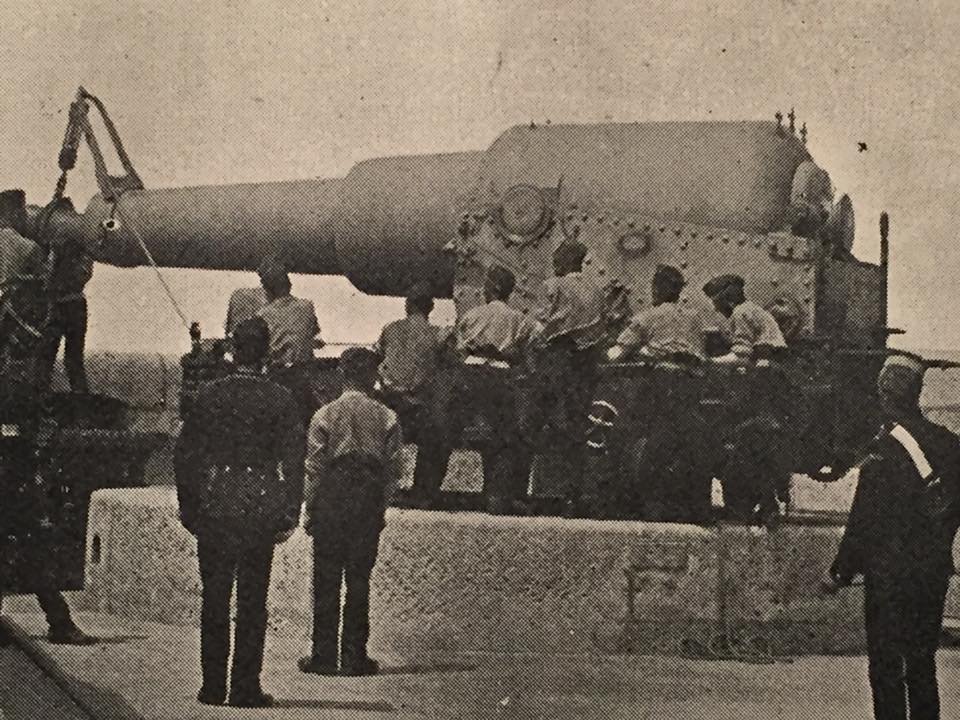
At the time 6th Company Western District Royal Artillery were providing the Garrison detachment on the Island and had their own Cricket team although their home pitch was in the Citadel. The Ordnance on the Island is shown as three 11 inch 25 ton Guns and two 12 inch 25 ton Guns forming the Upper Battery. These were the Guns that were buried on the Island when they became obsolete and were rediscovered by the Adventure Centre staff in the 1960’s. However they only found four of the Guns, what happened to the fifth remains a bit of a mystery. There is no record of it having been removed from the Island and although it may have been there is the intriguing possibility that it is still buried on the Island. There is only one Landing Place now indicated. It appears the older landing place at the entrance to the Island and Gun Wharf by the Casemates had now fallen into disuse. With the Iron Blast Shields now in place there would have been very restricted access to the main part of the Island from the Gun Wharf and it was specifically designed to get the guns on the Island anyway. Lighting would have still been via oil lamps and candles, heating from coal and kindling wood and water gleaned from rain water or shipped across from Royal William Yard.

The Casemated or lower Battery also has a bit of mystery attached to it. The 1895 report shows nine 9 inch 12 tons in place. However previously one report of 1886 indicated the Island had thirteen of the 9 inch guns in place but a subsequent report also of 1886 indicated only eleven of the casemates housed guns. It is quite possible that some of the guns were moved off the Island by 1895. We also know that in 1905 the guns were tipped onto the foreshore as they were obsolete. They were all visible at low tide however only seven guns were recovered by the Navy in 1942 as salvage for the war effort. The other two may well have been washed away by strong tides or gales, leaving the possibility that they are still on the bottom of the Sound somewhere or that they were removed earlier.
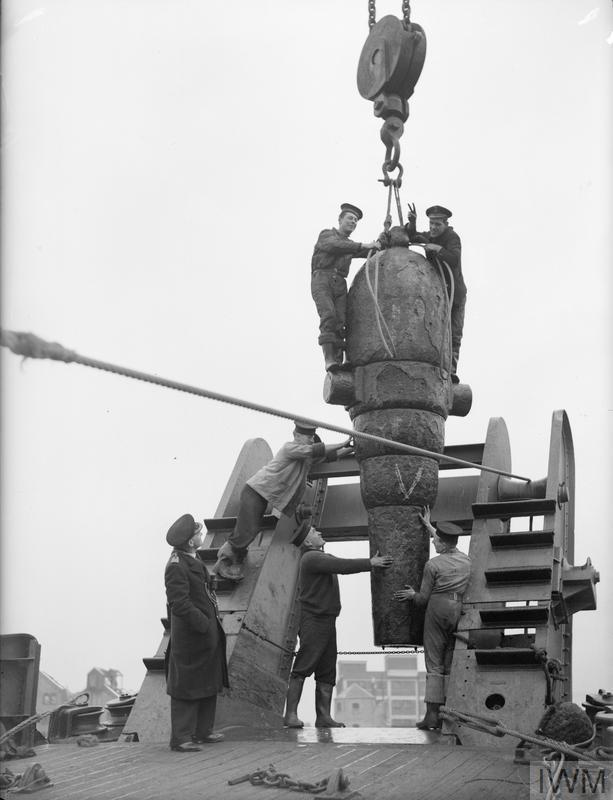
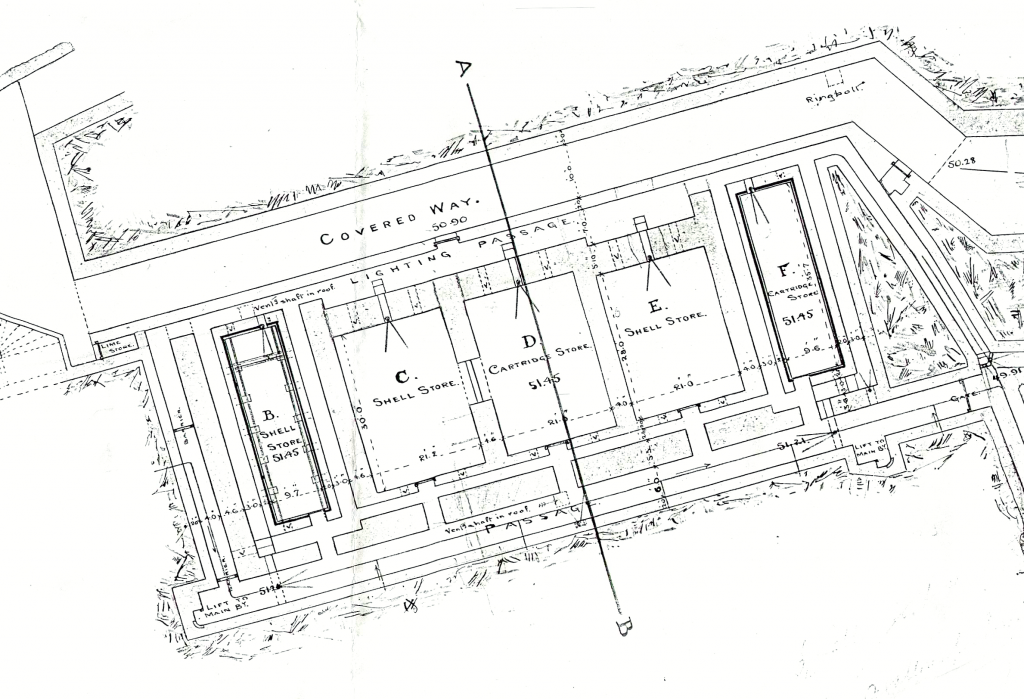
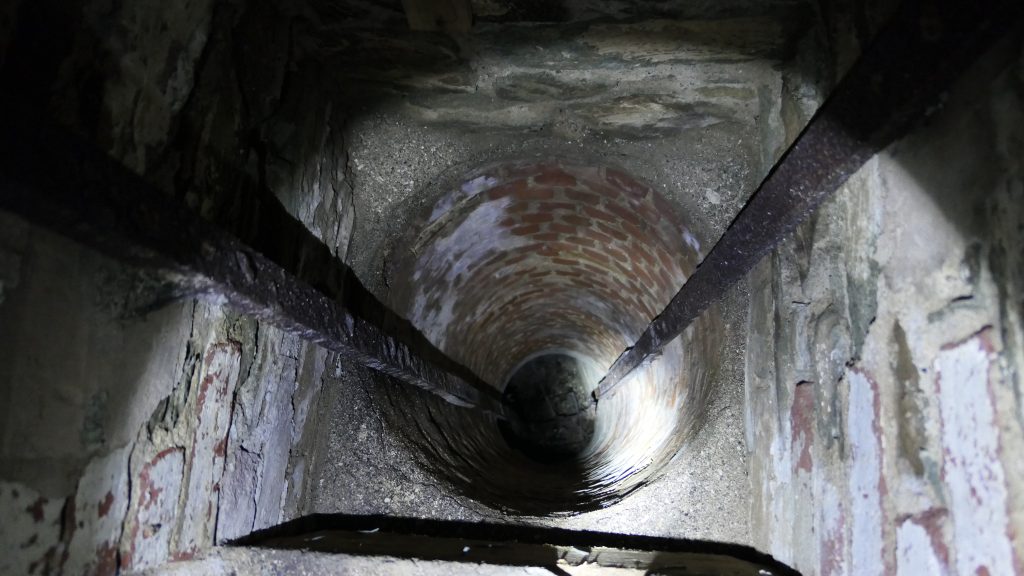
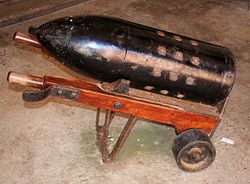
The survey also show how the casemates were starting to be adapted for other uses, how the ammunition was moved and stored from the main underground magazine at the deepest part of the Island, to the Upper Magazines for the Upper Batteries and forward magazines for the casemates and also how they were stored at the Gun position. All the ammunition was bought up to the Island via a hoist at the top of the Island behind the landing place at what is now the pier. A hoist has been in this position since at least 1725. From there the ammunition was moved to the main Underground Magazines. Cartridges, which were the Gunpowder element, were held separate to the shells. The larger 25 ton guns used 34kg of gunpowder to fire a single Palliser shell that weighed 272kg. The smaller guns would use 20kg of gunpowder to fire a 116kg Palliser Shell.

For the Upper Battery the ammunition would be lifted using one of the two hoists to the Upper level of magazines. In turn the ammunition would be lifted via a davit and blocks and tackles to the store next to the Gun Position. These guns would take a well trained 8 man gun crew around 5 minutes to reload. To assist loading a davit and block and tackle would be used to assist with the lift of the shell.
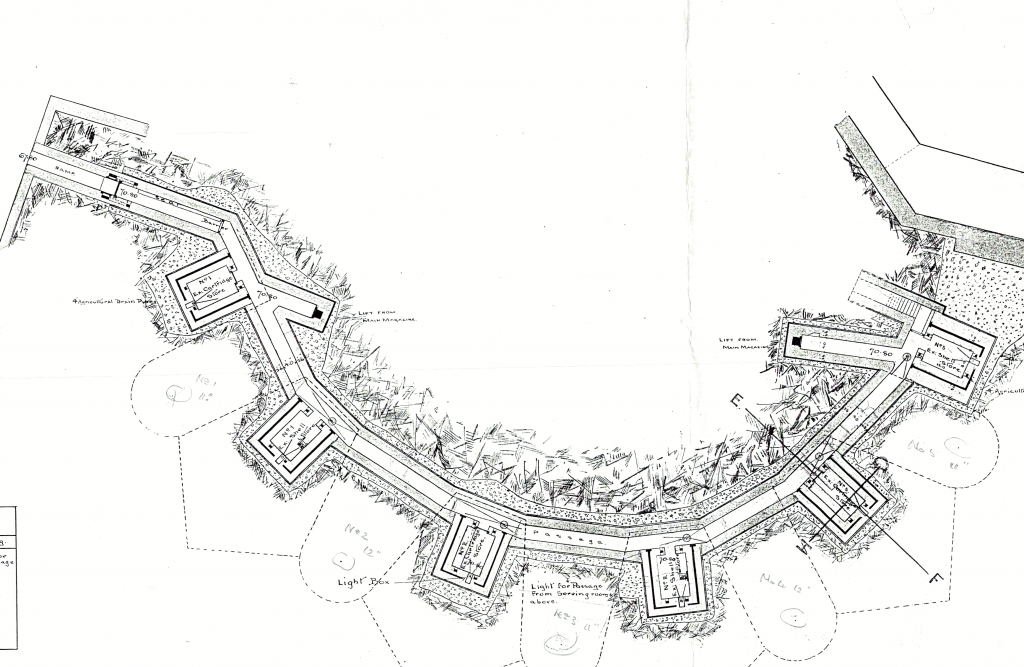
For the Casemated Battery the Ammunition would be moved by trolley from the main magazine to the forward magazine using the underground ammunition tunnels. There was a gentle slope down in the direction of the forward magazines to assist the movement of the ammunition, as the trollies were manhandled it helped if they were moved slightly downhill. From the forward magazines the ammunition was manhandled to the Gun position. By now the guns were in the South East facing casemates which were the nine casemates closest to the Cornish side of the Sound.
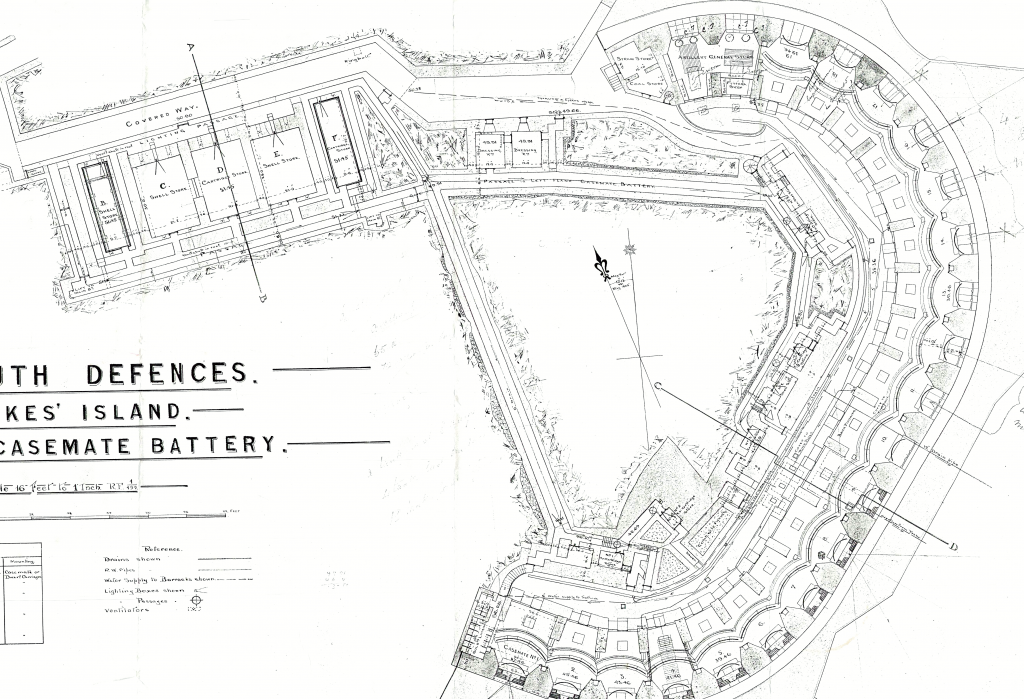
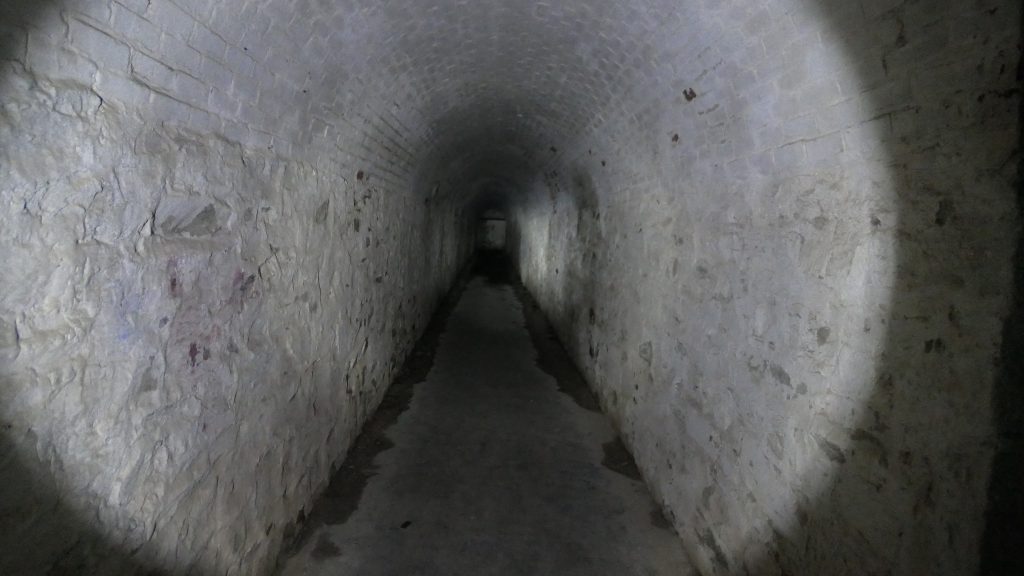
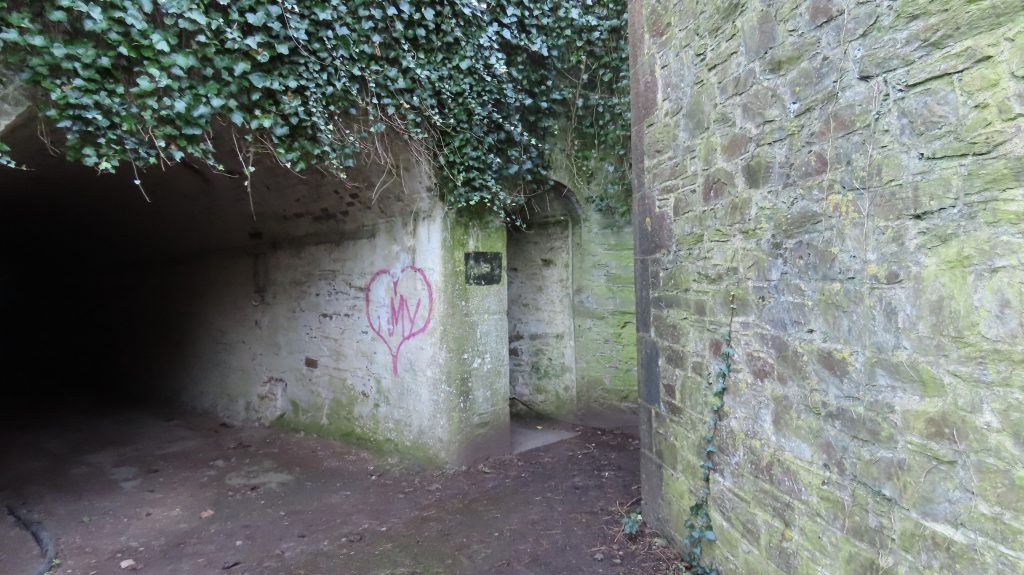
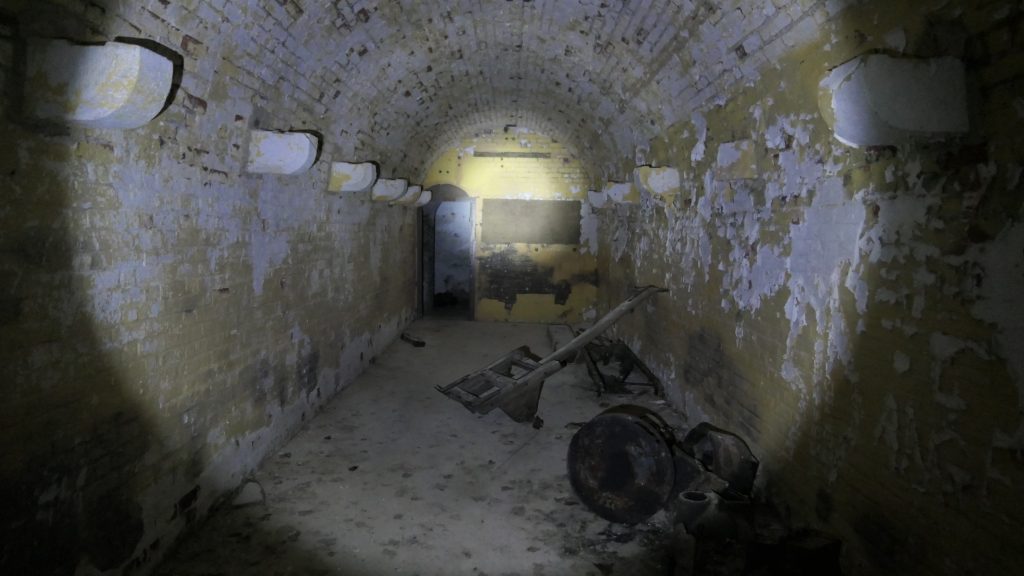
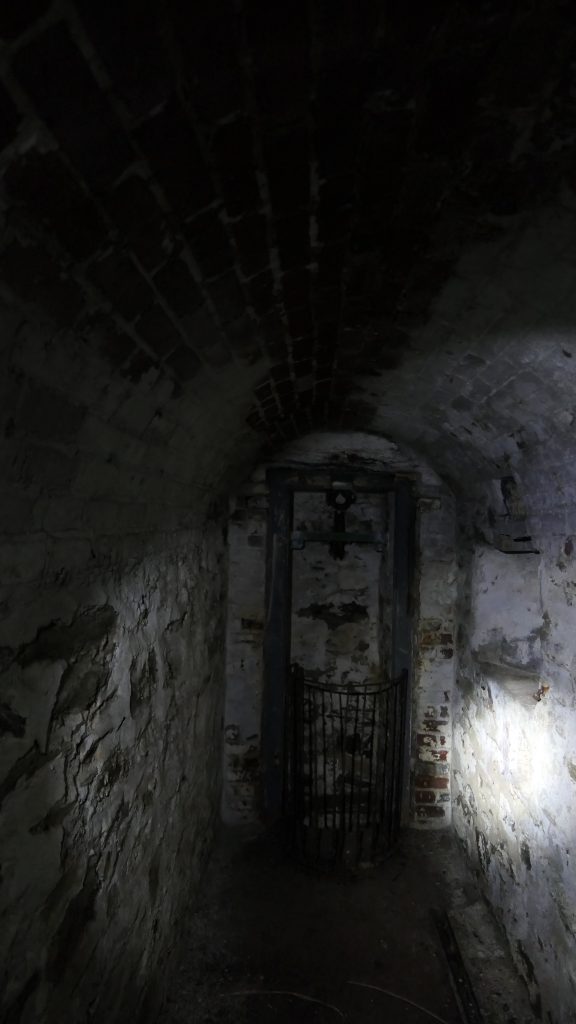
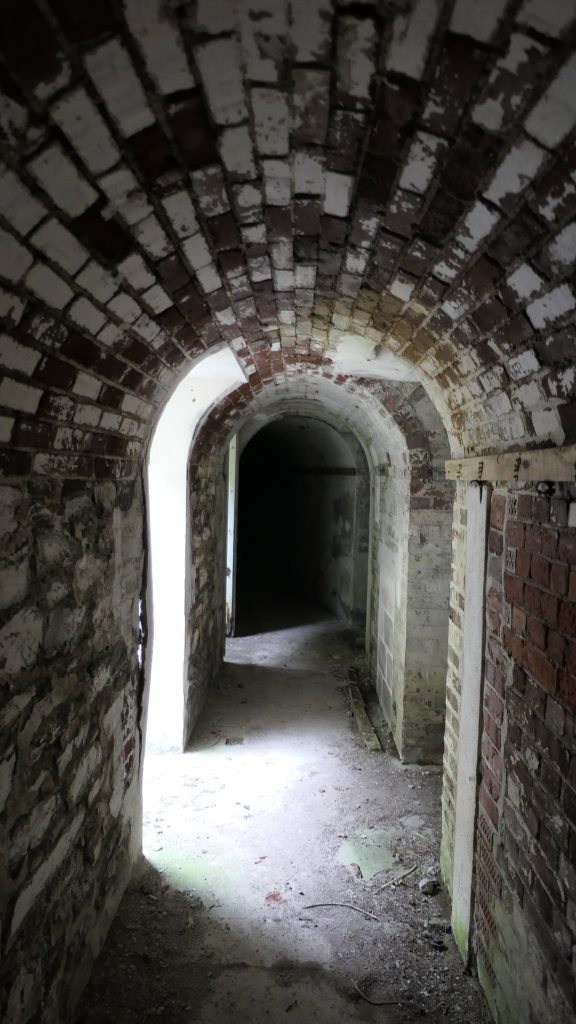
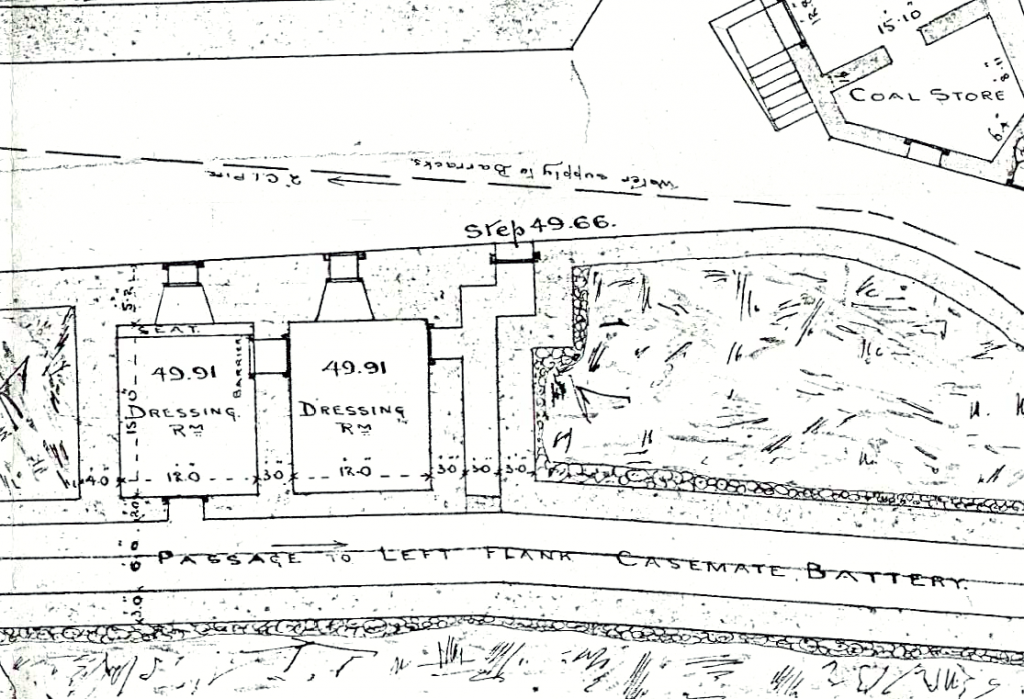
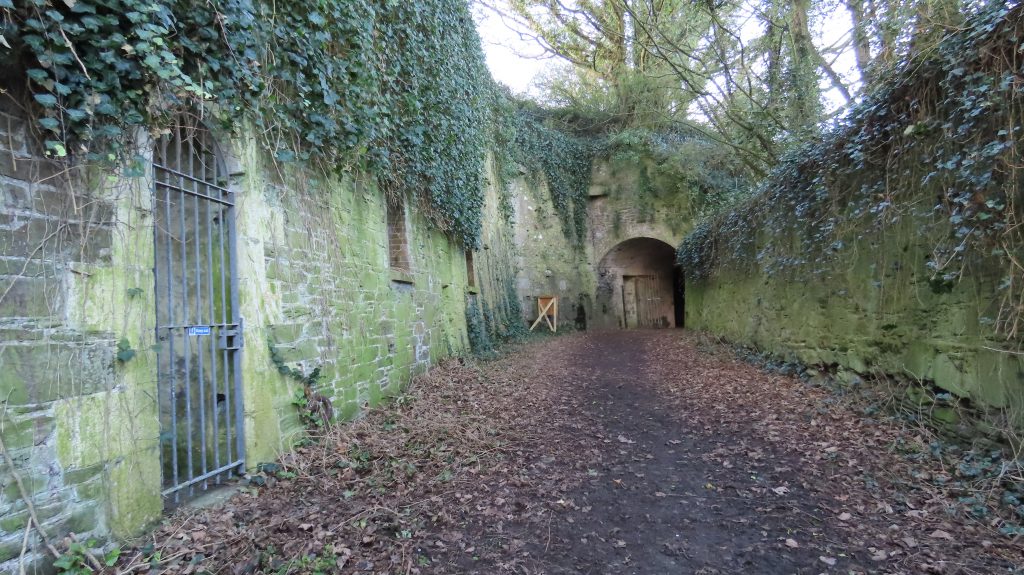
The soldiers working in the underground magazines and tunnel complex would have all worn canvas uniforms and Indian type moccasins or canvas shoes. At first when I looked at the survey I couldn’t figure out what the dressing rooms were, my initial thoughts were they would have been a 1st Aid Station but Victorians would use the term dressing room for we would now understand as changing room. And that’s what they were, changing rooms for the soldiers before going to work in the magazines. All the entrances would either be locked or have sentries guarding them. The danger of a spark setting off the tons of gunpowder stored there meant strict procedures were in place to minimise the danger. It also appears that what is now the entrance from beside the Covered Way was originally a Lime store and only later knocked through to create a passageway to the main magazines. The lime would have mixed to form whitewash which would have been painted onto the walls. This helped with illumination as it reflected the light from the oil lamps more effectively. The main entrance for the ammunition would appear to be the one in the covered way which actually opens out into ta larger part of the passageway,
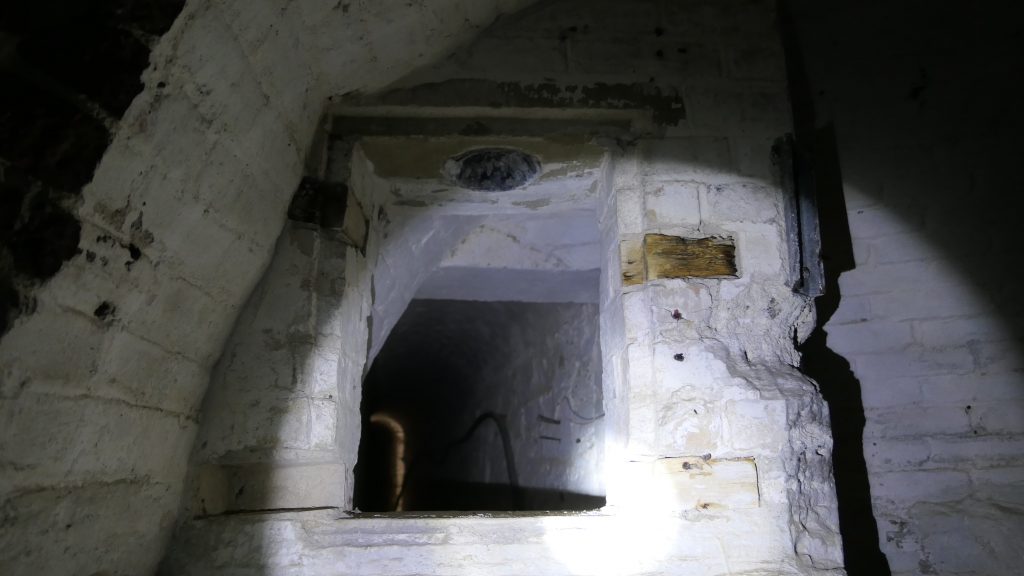
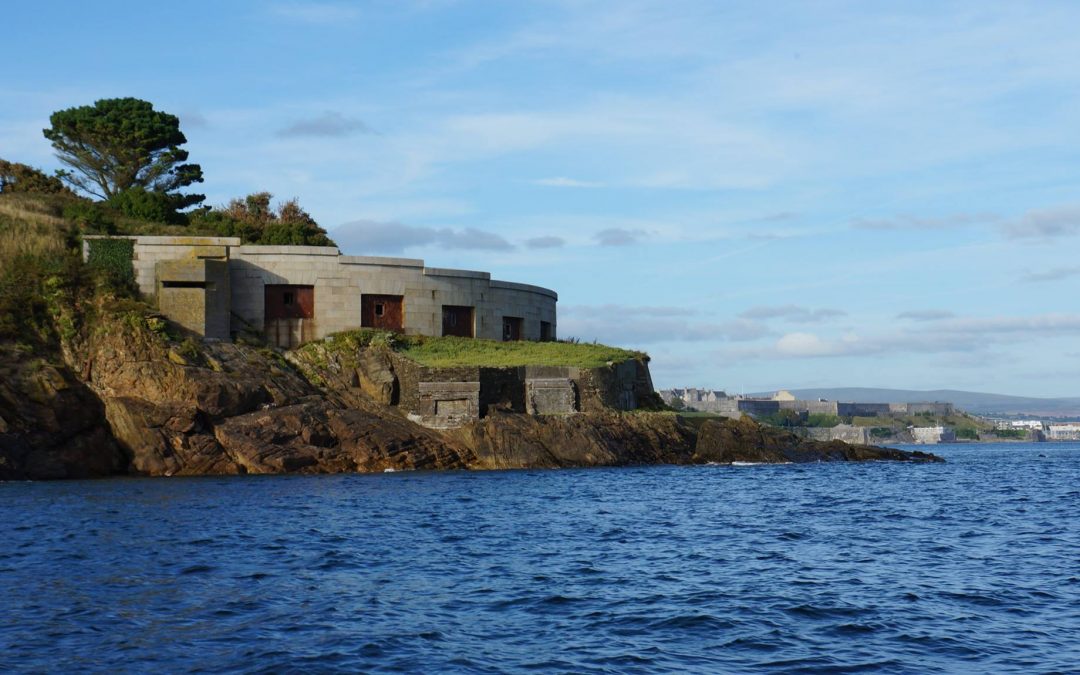
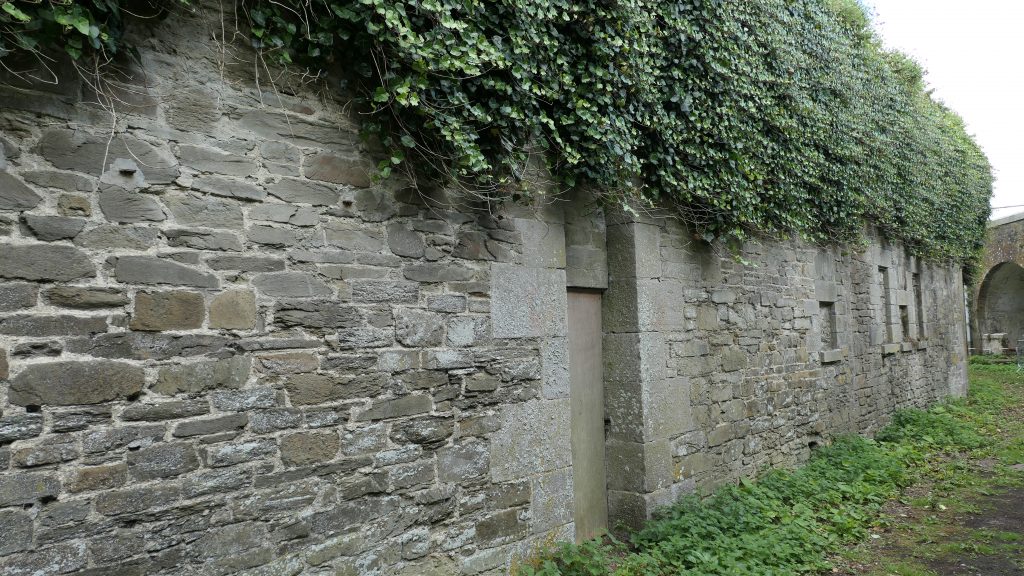
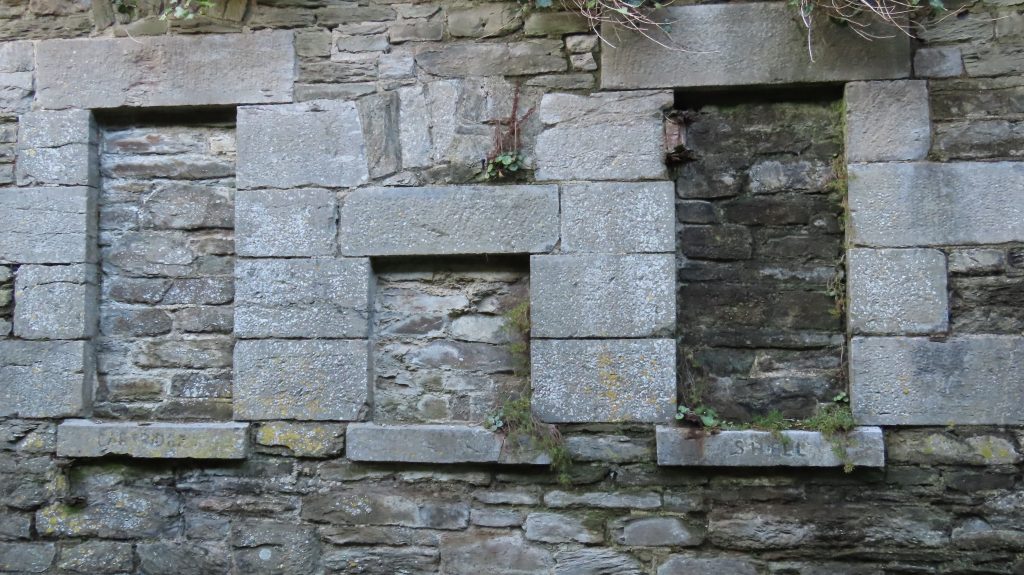
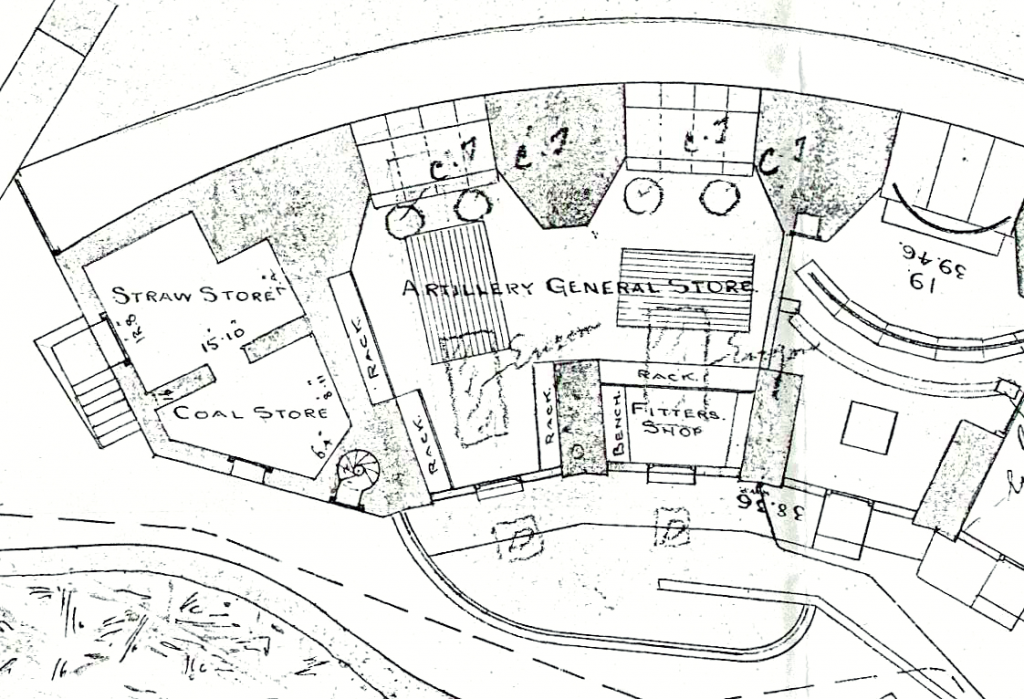
At the casemates some alterations to use had already been made although only one of the two stores at the start of the casemates was part of the original design. The steps were demolished to make way for the second store. The first two casemates had already been altered and were now an Artillery General Store and Fitters shop. The internal and external arches, open when originally built were now being bricked up where casemates were being adapted for other use.
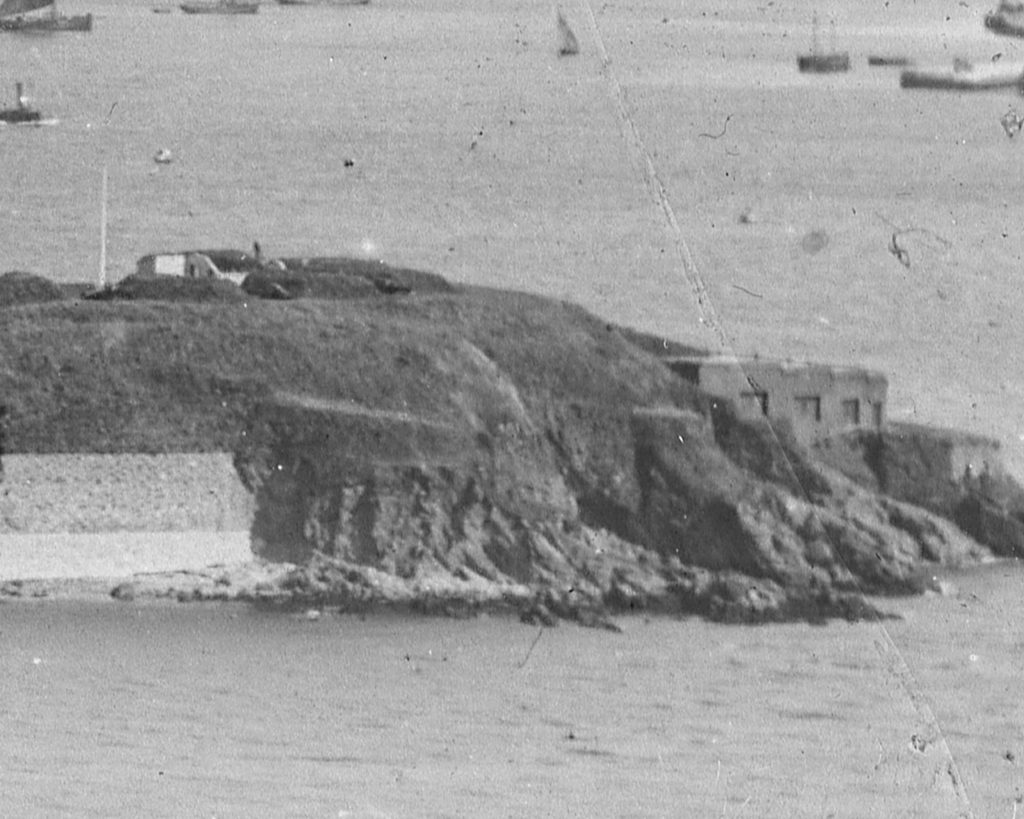
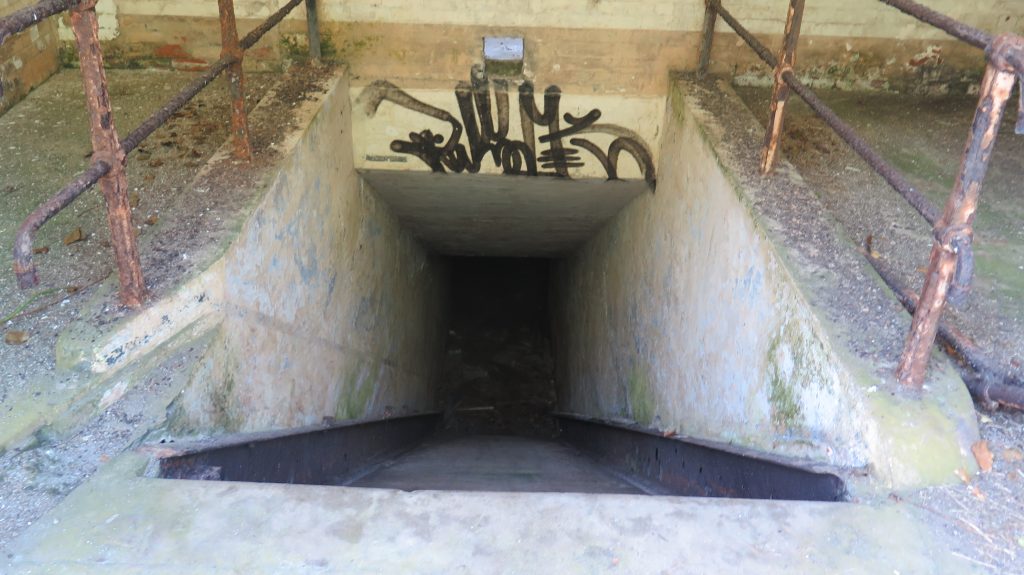
The Searchlight position wasn’t yet built though the design was drawn up and acted on not long after this survey was done as we know from reports that the searchlights were operational by 1899, only 4 years after this survey was done. This also puts paid to the suggestion that the ramp was part of a Brennan Torpedo Station which is shown in some older books and dated at 1891. The casemate in question hasn’t been altered as yet in 1895 and the only Brennan Torpedo Station in the Sound was at Piers Cellars according to Royal Navy records.

As I mentioned at the start this was the start of the next period of the defences being adapted on the Island due to technological advances in both artillery and defence design. Within 6 years The Upper Battery was largely demolished to make way for the Breech Loading Gun Batteries that ran along the length of the Island. The Casemates were adapted to incorporate the new guns and changes made to the underground magazine and tunnel complex to accommodate the new ammunition. We’ll look at those changes in the coming weeks
Keep up this excellent and informative site. Thank you. 53 years since I first set foot on this fascinating island. So disappointing that it was not kept as an adventure centre.